How To Install Baseboards?
Installing baseboards is a small detail in home improvement. Still, it has a significant impact on your room’s overall appearance. These trim pieces don’t just cover the joint between walls and floors; they add character, depth, and a polished look that elevates any interior space. Learning how to install baseboards like a professional carpenter allows you to achieve clean, seamless lines without hiring expensive labor.
With the right tools, accurate measurements, and a few proven techniques, even a beginner can complete this project confidently. Whether you’re remodeling an old home or finishing new flooring, following a step-by-step process ensures professional-quality results that last for years.
Baseboard Installation Tools, Materials, and Tips
| Item / Step | Description / Tip |
|---|---|
| Miter Saw | For precise straight and angled cuts. |
| Coping Saw | Ideal for inside corners and coped joints. |
| Nail Gun | Fast and efficient for securing baseboards. |
| Hammer | Use if a nail gun is not available. |
| Finishing Nails | Nails for baseboards, usually 1.5–2 inches. |
| Measuring Tape | Accurate measurements are crucial. |
| Pencil | For marking cutting lines. |
| Chalk Line | Helps maintain a straight baseboard line. |
| Level | Ensures baseboards are perfectly straight. |
| Stud Finder | Locates wall studs for secure nailing. |
| Sandpaper | Smooths rough edges and fills. |
| Wood Filler | Covers nail holes and minor gaps. |
| Painter’s Caulk | Hides gaps between wall and baseboard. |
| Caulk Gun | For precise caulk application. |
| Construction Adhesive | Optional for extra hold. |
| Baseboard Material | Wood, MDF, or PVC based on preference. |
| Primer | Prepares baseboards for paint or stain. |
| Paint | Semi-gloss or gloss for durability and shine. |
| Stain | Optional, for natural wood finishes. |
| Clear Coat | Protective layer over stain. |
| Shims | Correct uneven wall or floor surfaces. |
| Labeling Tape | Mark each piece to avoid confusion. |
| Scarf Joints | Technique for joining long baseboard runs. |
| Coping Technique | Ensures tight inside corner joints. |
| Touch-Up Tools | Small brush or sponge for finishing details. |
Understanding the Importance of Baseboards
Baseboards might seem like a small detail in your home’s interior. Still, they play a significant role in achieving a polished and professional finish. They bridge the gap between walls and floors, covering imperfections, and protecting walls from damage. When installed correctly, baseboards can transform a plain room into a beautifully finished space. To install them like a professional carpenter, you’ll need the right tools, preparation, and attention to detail.
How To Install Baseboard?
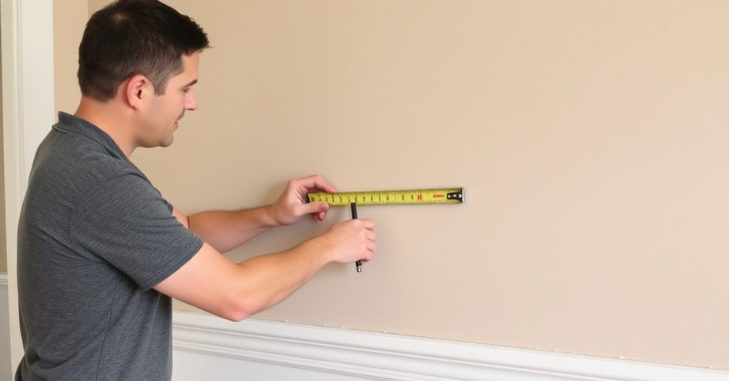
Tools and Materials You’ll Need
Before starting, it’s essential to gather all necessary tools and materials. Having everything ready will make the installation smoother and more efficient.
Essential Tools
- Miter saw (for precision cuts)
- Measuring tape
- Pencil and chalk line
- Coping saw
- Nail gun or hammer and finishing nails
- Level and stud finder
- Caulk gun
- Sandpaper (medium and fine grit)
Materials Required
- Baseboards (wood, MDF, or PVC, depending on preference)
- Wood filler or putty
- Construction adhesive (optional)
- Painter’s caulk
- Paint or finish of choice
Step 1: Prepare the Walls and Baseboards
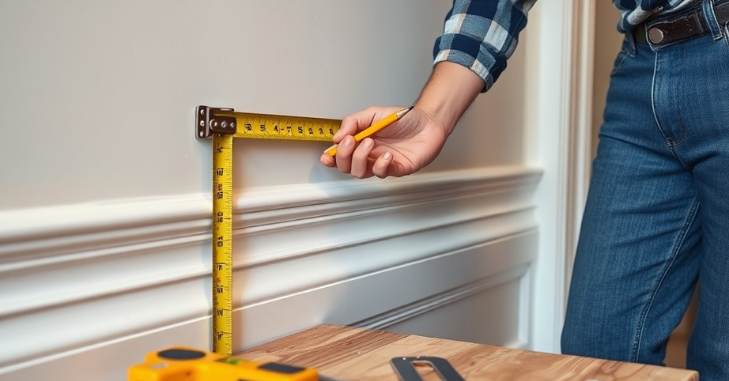
Clean walls and floors thoroughly, removing old trim, nails, and debris. Smooth rough baseboard edges with sandpaper and inspect for warping. Use a level to check for uneven walls, add shims, or adjust alignment as needed before installation.
Step 2: Measure and Cut Accurately
Measure each wall precisely and label your pieces for easy placement. Make straight cuts at 90° and corner cuts at 45° using a miter saw. For longer runs, use scarf joints (45° overlapping cuts) for a seamless connection.
Pro tip: Always cut slightly longer, you can trim but not add length back.
Step 3: Cope Inside Corners for a Tight Fit
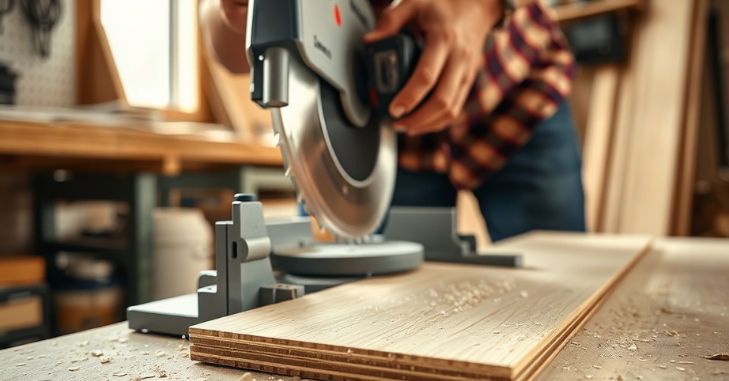
Coping gives baseboards a perfect corner fit. First, cut one piece at 90° and install it. Then, cut the second at 45°, follow its profile with a coping saw, and trim off the excess. Fit the coped edge against the first piece for a snug, professional corner.
Step 4: Install the Baseboards
Apply construction adhesive to the back (optional) and position the baseboard. Nail it into studs every 16 inches using a nail gun or hammer. Keep the top edge level and leave a small gap at the bottom for caulking if the floors are uneven.
Step 5: Fill Gaps and Nail Holes
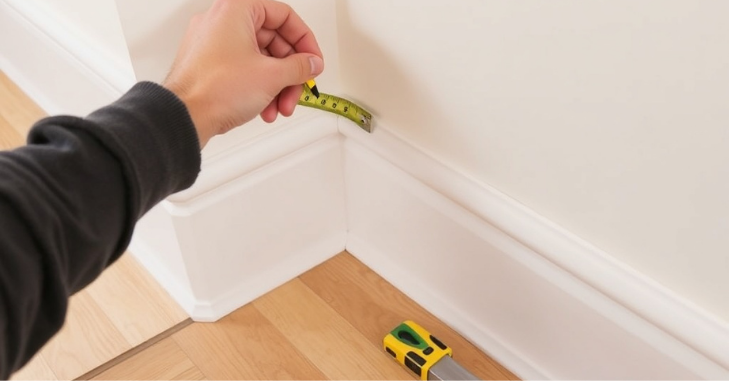
Use wood fillers to cover nail holes, then sand smoothly. Apply painter’s caulk along the top edge and at joints to hide gaps. Smooth it with a damp finger for a clean, seamless appearance.
Step 6: Paint or Finish for a Polished Look
Prime your baseboards first, then apply two thin coats of semi-gloss or gloss paint for durability and shine. If stained, use a wood stain followed by a clear protective coat for a natural finish.
Step 7: Inspect and Touch Up
After drying, inspect your baseboards for gaps, rough spots, or paint flaws. Re-caulk or touch up as needed. Lightly sand between coats for a smooth, professional-grade finish.
Professional Tips for a Flawless Installation
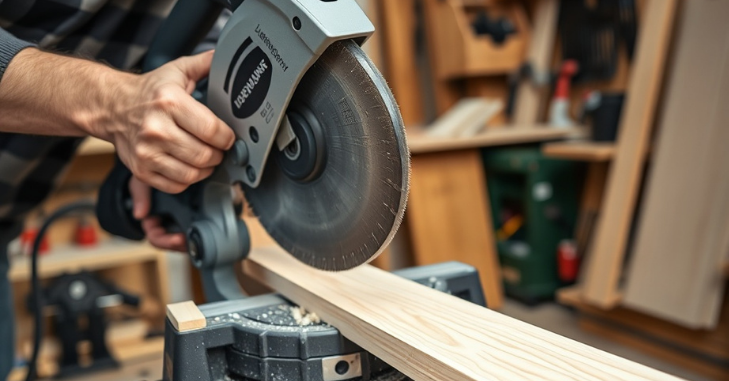
Proper baseboard installation is more than simply attaching trim to a wall—it requires precision, patience, and an understanding of how different wall angles and floor levels can affect the final result. Even minor measurement errors or poorly aligned cuts can create visible gaps that reduce the overall finish quality.
By focusing on accurate cuts, tight corner joints, and smooth finishing touches, homeowners can create a clean, polished appearance that enhances both the durability and style of a room. Mastering these details is what separates a basic DIY job from a truly professional-looking installation.
- Pre-paint baseboards before installation, if possible, to save cleanup time and ensure better coverage.
- Label each cut piece to avoid mixing them up during fitting.
- Use painter’s tape along wall edges to prevent paint bleeding when finishing.
- Invest in quality caulk and filler; cheap products tend to crack or shrink over time.
- Check alignment frequently using a level to ensure consistency throughout the room.
Common Mistakes to Avoid
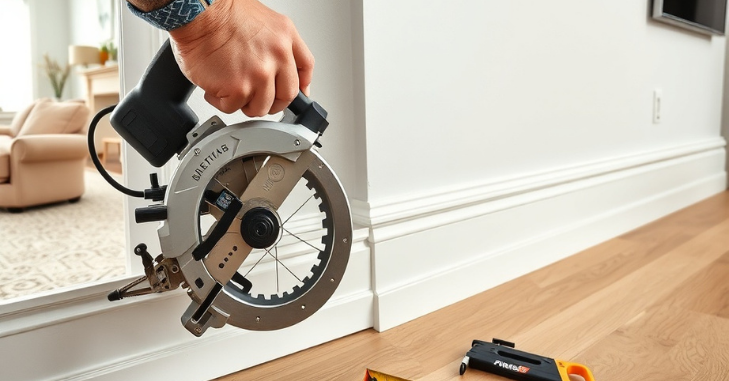
Even with preparation, a few missteps can compromise the final look:
- Skipping wall preparation: Uneven surfaces lead to visible gaps.
- Incorrect miter angles: Even a slight miscut can leave noticeable seams.
- Overusing nails: Too many nails can cause splitting or making filling difficult.
- Ignoring expansion gaps: Wood can expand or contract; leaving no room can lead to buckling.
Avoiding these errors ensures your baseboard installation looks clean, balanced, and professional for years to come.
Conclusion
Installing baseboards like a professional carpenter doesn’t require years of experience, just patience, precision, and the right approach. By following these expert-approved yet straightforward steps, you can achieve a smooth, seamless finish that enhances your home style and structure.
The key lies in careful preparation, accurate measuring, and clean finishing work. Once completed, your perfectly aligned baseboards will not only elevate your interior design but also reflect the pride and craftsmanship of a true professional. With the right tools and techniques, anyone can turn this DIY project into a stunning home improvement success.
Want to know about Top Pans for Induction Hobs, Stoves, and Cookers: Handle-Free, Removable, and Compatible Options Check out our Home Improvement category.
Frequently Asked Questions (FAQs)
The easiest way for beginners is to start with pre-primed MDF or PVC baseboards, as they’re easier to cut and handle.
It’s best to paint or prime your baseboards before installation. This approach saves time, prevents paint splatters on walls or flooring, and ensures complete coverage. After installation, you can touch up nail holes and caulk lines for a flawless finish.
You’ll need a miter saw, coping saw, nail gun or hammer, measuring tape, level, caulk gun, and sandpaper. Optional but helpful tools include a stud finder for nailing accuracy and construction adhesive for extra hold.
For seamless joints, use scarf joints for long runs and coping for inside corners. Fill all nail holes and seams with wood filler, then apply caulk and paint. Proper sanding and finishing will give your baseboards a professional, gap-free appearance.